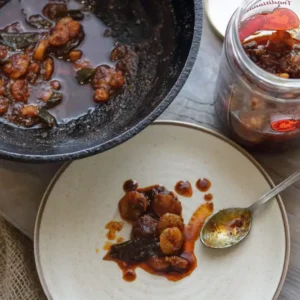
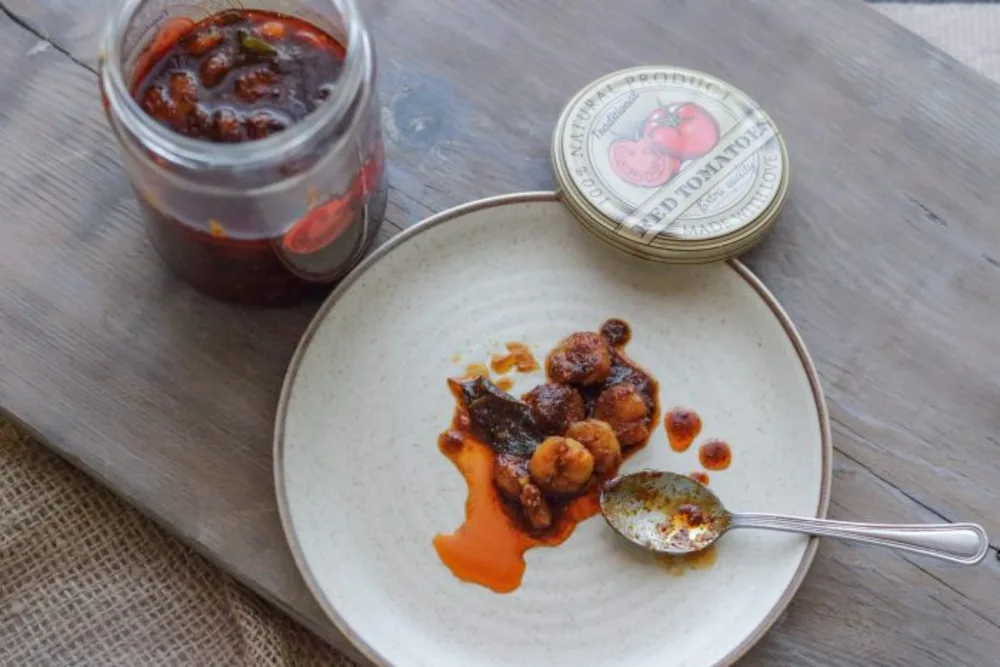
Prawn pickle, whether it’s eaten with dal and rice, spread on hot toast, or enjoyed with crispy dosas and fluffy uttapams – everyone has their favourite way of relishing this tangy seafood treat. I’ve always had store-bought prawn pickle, but this time the abundance of prawns sold by my fish lady inspired me to make my own. Eating homemade pickle is like eating vegetables from one’s kitchen garden, it’s a special feeling.
What kind of prawns should you use?
Medium-sized prawns are the best. Very small shrimp have a tendency to turn dry and tough since the cooking process renders all the moisture. Large ones too don’t work for the obvious reason that they need a lot of masala (spice paste) and large jars.

I prefer the white variety known as Indian Prawns (Fenneropenaeus indicus). These may be farmed or from the wild (their season in the sea is short, so they are often grown on shrimp farms). They are juicy, sweet and the perfect size. Their small heads (compared to larger Tiger prawns) and thin transparent shell minimises the loss in weight after cleaning

The oil
Besides salt, sugar and acid (in some cases), oil is an important preservative for Indian pickles and every region of the country has its own preference. North Indian pickles are usually made with mustard oil while gingelly oil is the hallmark of South Indian pickles. I’ve used gingelly oil in my prawn pickle. Gingelly, a term not used outside India, simply means sesame oil. That said, gingelly oil is not the same as sesame oil commonly used in Asian cooking. While both are extracted from white sesame seeds, the extraction process is different. In India, the treatment renders an amber-coloured oil with a low smoking point that is ideal for quick sauteing and pickling. The Asian oils are derived from roasted/toasted sesame seeds and therefore are darker in colour with an extremely low smoking point, which is why they are used mainly in flavourings and dressings. You may find that the pickle has a lot of oil; it’s meant to form a layer on top of the pickle and prevent it from coming in contact with any air that may spoil it. Once you’re through with the pickle, use the oil to flavour scrambled eggs, fried rice etc.
Spices and Acid
Spices are at the soul of Indian cooking and the same applies to pickling. The various permutations/combinations of spices such as mustard, fenugreek, fennel, cumin, pepper, cinnamon, turmeric and others aren’t merely flavour enhancers; they are also antimicrobial agents, digestive aids and even have medicinal value (according to Ayurveda). Some spices for example, are warm and heat-enhancing, others are cooling and so on. My prawn pickle is spiced with turmeric, Kashmiri chilli powder (for heat and a rich red colour), fenugreek seeds, cumin, black mustard seeds and black pepper. Aromatics such as ginger, garlic and curry leaves are a must to build rounder flavours so that the taste doesn’t feel like something’s missing.

Pickles are supposed to have a certain pH value, a medium level of acidity that is enough to kill bacteria. While acidic fruits and vegetables like lemons and raw mangoes don’t need a souring agent, others like carrots, green chillies etc, meats and fish require acid in the form of tamarind or vinegar. Prawn pickles generally have vinegar, this one does too; just enough to add a tang that’s not too sharp. White vinegar, malt vinegar, apple cider vinegar or even coconut vinegar is fine for this pickle. You need just a couple of tablespoons.
Cooking the prawns
Needless to say, the prawns must be cleaned thoroughly and de-veined with no traces of the poop chute remaining. They must be washed in a couple of changes of water and drained well – any sand or leftover entrails can cause the pickle to spoil. Once drained, toss them in a little turmeric and salt.
The cooking process has 2 steps. They’re cooked without any oil , on low heat in a wide pan to dry up all the moisture that they will exude. Next they are lightly fried in oil before thy get a bath in the masala mixture.


Any pickling process requires extra attention to the hygiene of the utensils and spoons used and of course a sterilised jar. The prawn pickle must be stored in the refrigerator. It’s best to make meat/seafood pickles in small quantities that can be consumed safely within a couple of months. This recipe has 500g of prawns, you can go upto a kilo (the net weight, after shelling and cleaning). Pickle-making isn’t complicated, it just requires a little pre-planning and organising (it’s not something you can spontaneously do at the spur of the moment) the ingredients and equipment. That done, it’s immensely satisfying.

My jar is emptying fast and I really had fun making the pickle. I’m not a regular pickle-maker like many of my friends, but this experience has motivated me to try a few more varieties of pickles.

Prawn Pickle
Ingredients
- 500 g prawns, shelled, de-veined and cleaned
- 10 cloves of garlic, peeled and cut into slivers
- 1 tbsp ginger, minced
- 15 fresh curry leaves, washed and dried
- 7-8 tbsp gingelly oil
- 4 tbsp white vinegar or apple cider vinegar
- 1/2 tsp turmeric powder
- 1 tsp white, granulated sugar
- Salt
For the powdered masala (spice mix)
- 1 tsp cumin seed
- 1/2 tsp fenugreek seed (methi)
- 1 1/2 tbsp Kashmiri chilli powder
- 1/2 tsp black peppercorn
- 2 tsp black mustard seed
Instructions
- Lightly toast the whole spices for the masala in a dry pan for a minute. Cool and powder.
- Drain the prawns of all the water, pat dry with kitchen towel and toss in 1/2 tsp each of salt and turmeric. Kepp aside for 10 minutes.
- Place the prawns in a wide pan and cook on low heat. The prawns will start emitting water. Cook them gently till all the liquid has dried.
- Heat a tbsp of gingelly oil in another pan and lightly fry the prawns for 3-4 minutes; they will change colour. Remove from the oil and set aside.
- Add the remaining oil to the pan and toss in the ginger, garlic and curry leaves. Fry till golden (be careful not to burn the aromatics).
- Keep the flame low and mix in the remaining ground masala, salt and vinegar. Bring to a gentle boil, add the prawns, stir well for 15-20 seconds and turn off the heat.
- Allow the pickle to cool before spooning into a sterilised jar reserving some of the oil. Pour the oil on top to cover the pickle, close the jar tightly and refrigerate for 5-6 days before eating.


What a fabulous recipe! So easy and tasty! I’ll definitely be making this one again!
Thank you so much for the recipe!
Thanks!
hi, roughly how much salt for 600 grams of shrimp!
Thanks :P)
Bharathi, about 2 tbsps of salt should do. But the saltiness of different brands differ. And so does personal preference. So I suggest that you taste the pickle once it has cooled and add a little more if required. As a thumb rule, I always salt conservatively and add as I taste.
I want fish pickle recipe. Long shelf-life and some spicy and like khatta meetha fish pickle with long shelf-life and preservatives.
Hi Yashashri, will surely post a fish pickle recipe when I have one worth sharing. Meanwhile, try the prawn
Didn’t like this recipe, it wasn’t spicy at all. Kashmiri red chilli powder is mainly for colour, not spice. Would not recommend it.
Hi Taylor,
Sorry it wasn’t to your taste. It’s not meant to be very hot. You can always use a combination of Kashmiri and Guntur chilli powders.